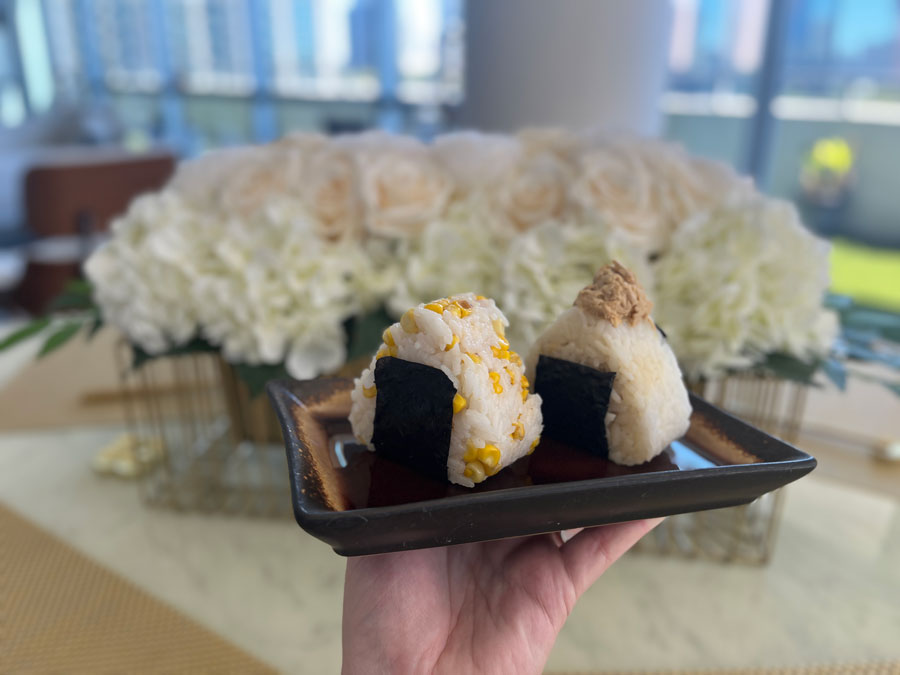
Pickled Daikon

Pickled Daikon

Japanese Pickled Daikon (tsukemono)

This recipe can be used for making homemade pickles.
Prep Time 1 hour
Cook Time 20 minutes
Pickling Time 5 days
Total Time 5 days 1 hour 20 minutes
Course Appetizer, Side Dish, Snack
Cuisine Japanese
Servings 14 Servings

Equipment

  • 1 Bowl
  • 1 Small Pot
  • 1 Mason Jar This needs to be big enough to hold the pickles and have a lid.

Ingredients
  

  • 1000 grams Large Daikon
  • salt
  • 10 grams Sugar
  • 1.5 grams Bonito Or less if you are not used to bonito
  • 1 piece Kombu I cut this into smaller pieces to layer it in the jar.
  • 2 cups White Vinegar You can use Rice Vinegar, but this is expensive and I think white vinegar works just as well.

Instructions
 

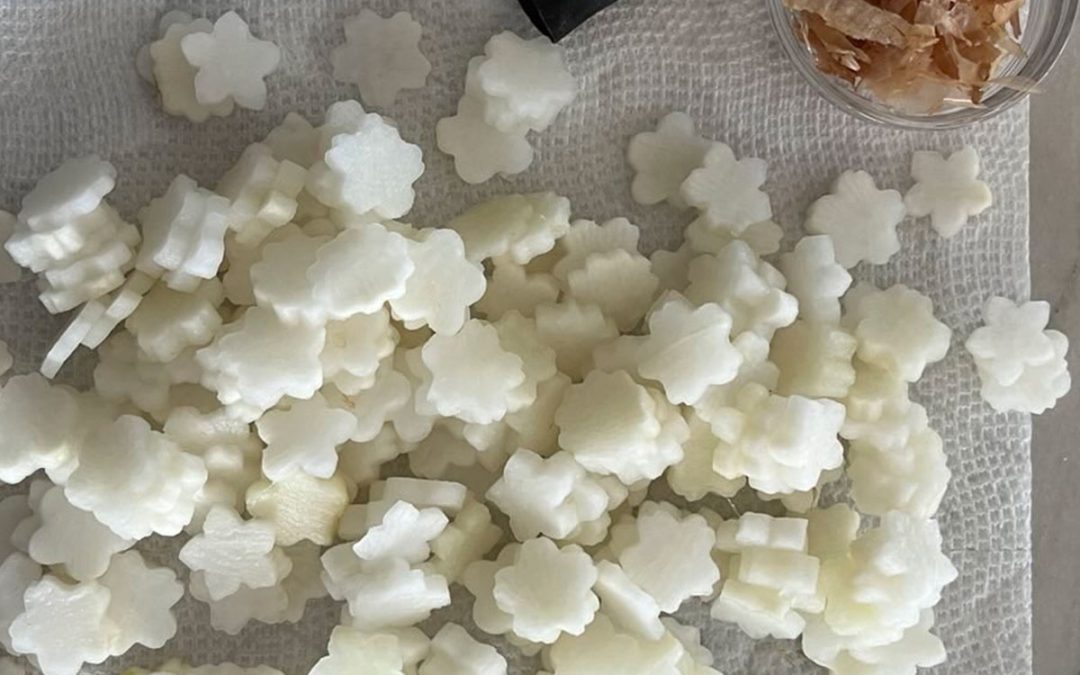
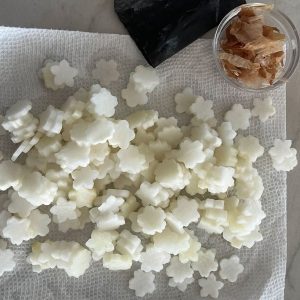
  • Cut the daikon into slices (1/8 Inch or 3mm or so thick). If you want them smaller, you can half or quarter the slices. I use cookie cutters and make them into shapes because I enjoy the cute pickles.
  • After cutting, put the slices in a bowl and salt them. Make sure there is a light layer of salt on all the slices. You can let them sit with the salt for however long you want, but do at least an hour because it draws out excess moisture.
  • When the daikon is close to being done, combine the vinegar & sugar in a pot. Bring to a boil and let it boil for a minute or so. Then take off the heat.
  • Drain the bowl with the daikon. Dry the daikon with a paper towel to remove the rest of the moisture.
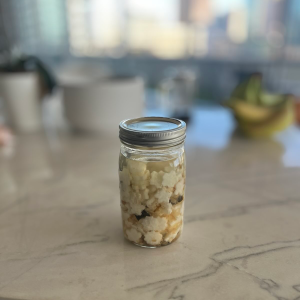
  • Add some of the vinegar mixture to the mason jar, then add some bonito, kelp, and a layer of daikon. Add more vinegar and repeat the layering until the jar is full or you are out of daikon. You want the daikon to be covered and not above the liquid line so that it is able to pickle.
  • You can leave the pickles out to ferment for a week or so, but eventually store in the fridge.
Keyword Healthy
Sticky Rice in the Microwave

Sticky Rice in the Microwave

Sticky Rice in the Microwave

How to achieve sticky rice for Onigiri, Sushi, or other Japanese Meals
Prep Time 10 minutes
Cook Time 25 minutes
Course Side Dish, Snack
Cuisine Japanese
Servings 4 Onigiri
Calories 160 kcal

Equipment

  • 1 Glass Microwave Container Make sure there is a good lid
  • 1 Microwave

Ingredients
  

  • 1 Cup Nishiki Premium Sushi Rice You can choose any brand, but this has worked for me and is available on Amazon
  • 1 TBSP Rice Vinegar (Optional) If you are making Sushi or Onigiri, Rice Vinegar is needed. If you are making plain rice, you do not need this.

Instructions
 

Preparation

  • Wash the rice with water. I use a strainer, but you can also fill the cooking bowl with the rice, then water, swish it around, then drain. Repeat process about three times.

Cooking

  • If using 1 cup rice, add 2 cups of fresh, cool water to the bowl where you have the rice prepped. Put the lid on the bowl. Place it in the microwave.
  • In the microwave, I set it for 10minutes on 0 heat so it can soak and I do not have to do anything for it to go to the next step. Some microwaves may not have an ability to set multiple times and temperatures, then just do this manually.
  • So set the microwave as below:
    -10 minutes on Power 0
    -5 minutes on High Power
    -10 minutes on 50% or Medium Power

Notes

While rinsing the rice and soaking the rice seem like wasted time, they are not.
Rinsing the rice helps remove the starch so your rice sticks together.
Soaking the rice helps it to absorb  the water prior to cooking so that it can cook through the whole grain without getting super mushy. 
Keyword Healthy